Eyeshadow Magic: Mastering Shades, Blends, and Pro-Level Techniques
- Nina Scheets
- Sep 2, 2024
- 3 min read
Eyeshadows are a blast to play with, and with over 100 highly pigmented shades to choose from—shimmer, matte, glitter—you'll never run out of options. Now, I'll be real with you: mattes and shimmers are my go-to’s. But if you’re feeling extra or hitting the stage, glitter’s your best friend.
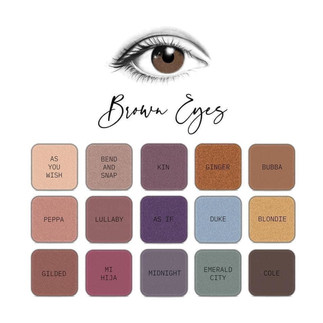
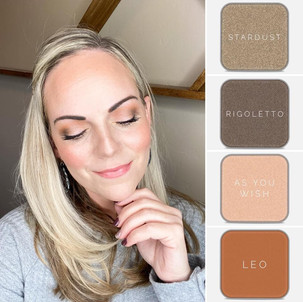
I know, with so many shades, it can be a little overwhelming. But don't worry—I’ve got you! Let’s simplify it. First, take a deep breath. Now, think about the color of your eyes and go for complementary shades. Blue-eyed beauties? Reach for pinks and oranges. Green-eyed goddesses? Purples and pinks are your jam.
I've dropped some suggestions in the graphics below to get you started.


Remember, eyeshadow is all about fun. There are no strict rules, just some guidelines to get you going. I’ll share my top tips, but ultimately, your eyelids are your canvas—so go wild!
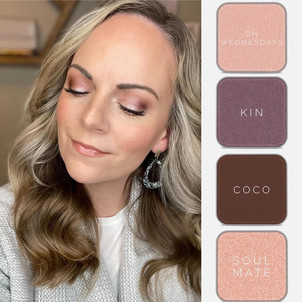
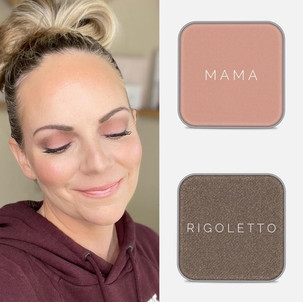
Alright, now that we’ve got some fabulous shades in our compact, here’s my top tip: stick to this simple 4-color pattern, 2 light colors, 2 dark colors. It’s a game-changer, trust me. Your colors should complement each other and can even be monochromatic if that’s your vibe.

-Base shade: Keep it neutral—this is your canvas. The lightest color usually works best as a browbone highlighter and an all-over base shadow.
-Eyelid: Lighten it up with a soft shade—the second lightest color usually looks great here. And if you’re feeling fancy, add a shimmer on top.
-Crease: Go darker here to add depth. The second darkest shade usually works best in the crease.
-Outer Corner/Outer V: The darkest color usually works best here to really make those eyes pop.
*Tip-use your brightening foundation shade as a base, that will help your eyeshadow to stay in place.

Another fun and surprisingly easy way to apply eyeshadow is to line up your 4 colors from lightest to darkest and blend them out. Seriously, the results will amaze you! It’s like instant pro-level makeup. The key to a great application is practice! And as I always say—practice makes permanent!
But hey, just because you’ve got four colors doesn’t mean you need to use them all every day. No matter how many colors you’re rocking, always follow the pattern (listed above). And remember, when in doubt, blend it out!


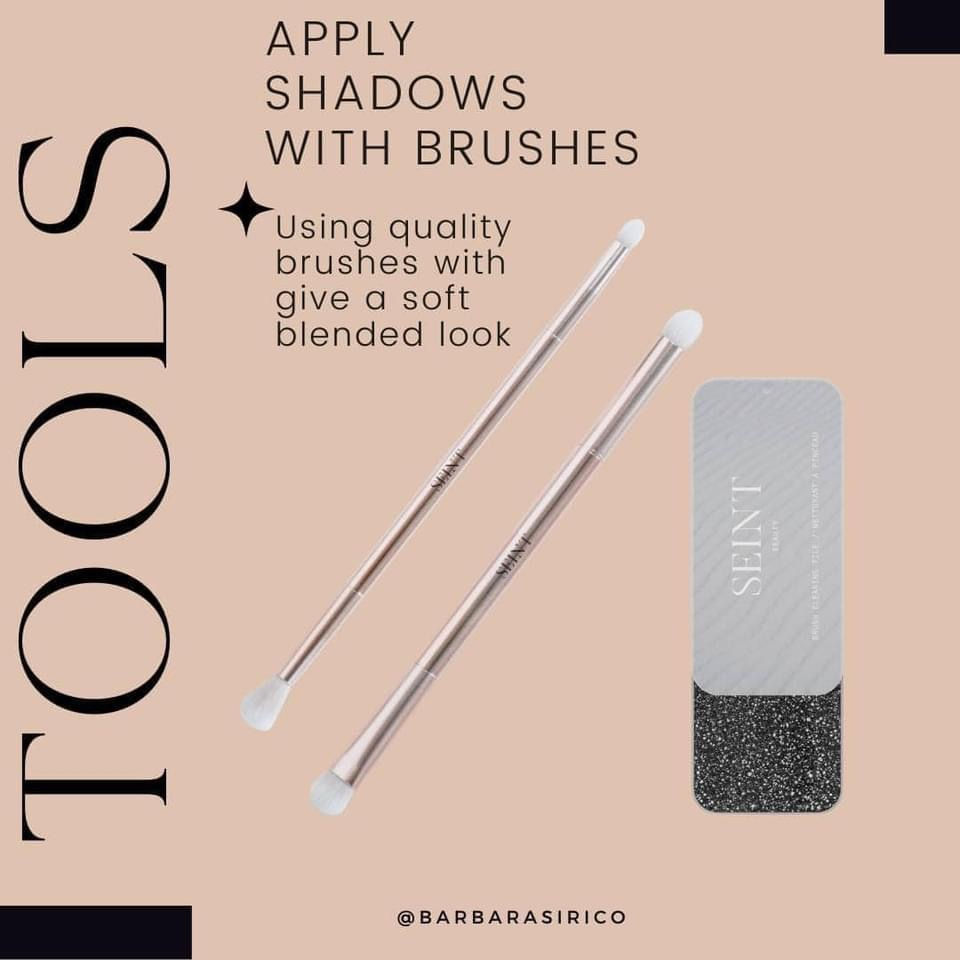
Blending tips
To truly master eyeshadow application like a pro, blending is non-negotiable. You can try every technique out there, but without proper blending, you’ll never achieve that flawless look.
When working with multiple shades, your mission is to eliminate harsh lines, ensuring smooth and seamless transitions between colors.
Here’s how to do it: use the larger end of your eyeshadow brush and blend in small circular motions, concentrating where the two colors meet. Keep blending until the line between them is invisible. If you blend too much out, just lightly add color back, building it until you achieve your desired look!
For the outer edges of your eyeshadow, use a gentle windshield wiper motion to blend the color with your skin, ensuring no harsh lines remain.
Click on the picture and zoom in.


Comments